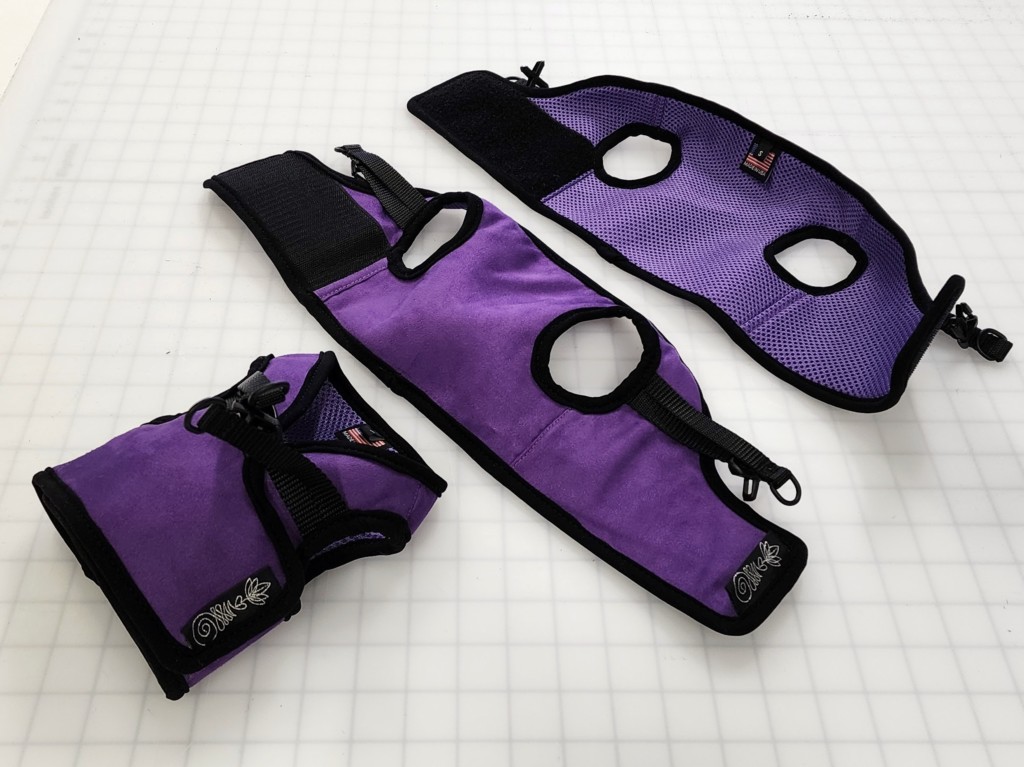
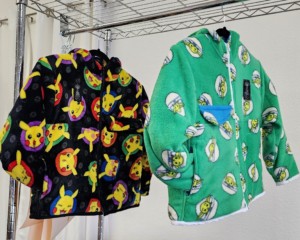
When a friend calls and asks you to outfit their newest family members with matching custom fitted harnesses, you don’t don’t say no, you make them the juiciest harnesses around! I personally love how these custom harnesses came out.
The puppies came over for an initial measuring and I took down some key measurements to make sure that the harnesses didn’t cover their genitals, fit well, didn’t hinder mobility, and allowed for growth. I was inspired by an old Puppia Harness I had in extra large. I like the design because it cradles the dog’s chest and spreads the force against the leash pull. I knew this would be a fun project to work on since there are a lot of techniques I could lear from working on this project that would apply to garment construction for people.
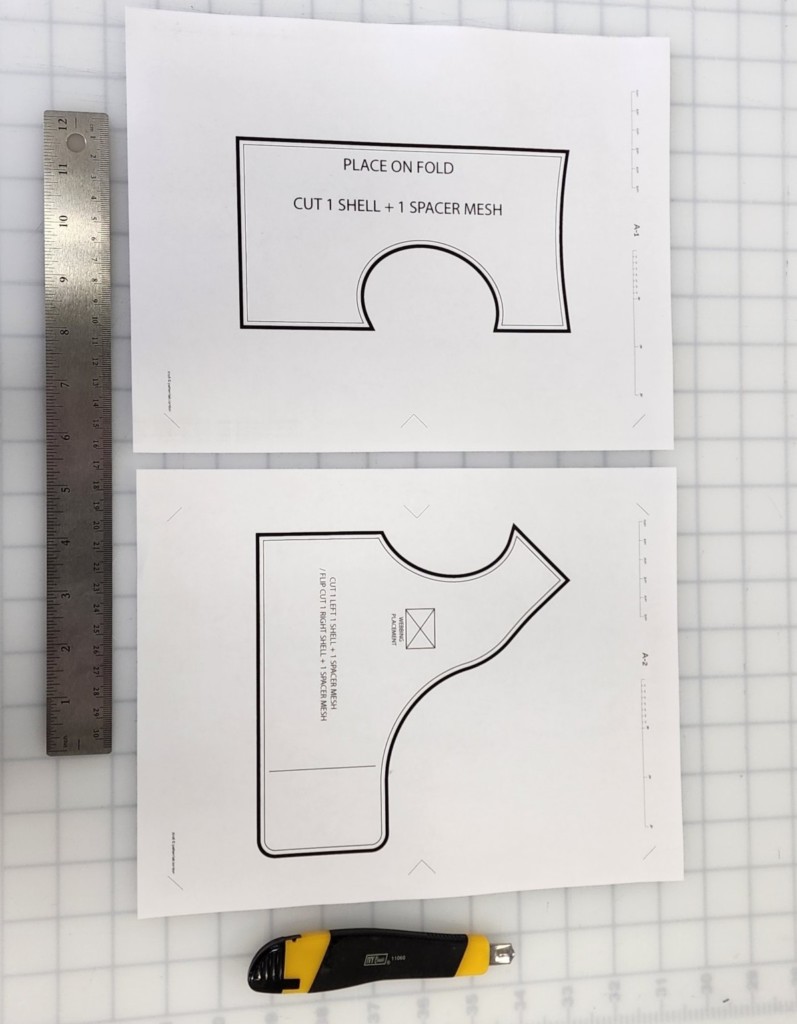
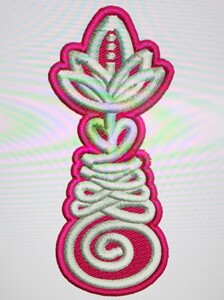
The Puppia harness pattern itself is quite simple since there’s three total pattern pieces; the back and the left and right wings. My task was to scale down the pattern, hit the key measurements from the custom fitting and add some additional Unalome Outfitters touches to the initial pattern.
Once the first iteration of the pattern was done, I made a quick sample of the pattern using some muslin fabric. The puppies came back over for a test fitting and I had to make some revisions based on the first fitting. Things were made smaller than desired so I had to make some adjustments to the digital pattern.
Puppies were all over the place! I had a difficult time getting them to not squirm around. Taking in the new measurements from the muslin test fit, I went back and revised the initial pattern and decided to go all in with the updated template.
A while back, my friend dropped off a roll of purple velvet fabric he had on hand and I used some of it to make his old dog that passed away a harness. In sticking with the same purple velvet harness theme, I pulled out the same purple velvet fabric to use as the top facing material. For the inside lining that will touch the dog’s skin, I used the same 3D spacer mesh, but I had some purple to try out.
Assembling all the pattern pieces together (twice, for the outer layer, then the inner layer) came together quite quickly, even with the top stitching for all three harnesses. I think the slowest part of the project is thinking about what should be done and in what order. Since this is an initial prototype, there wasn’t really a set of instructions for me to adhere to or processes that I created.
In the end, the three harnesses took me about a total of 13 hours to finish. This is only because I had to pull some stitches on the one of the final steps; I had to pull some edge binding tips. The edge binding tape is made of Stretchy, ribbed nylon Lycra 1 5/8″ wide. It’s super soft and won’t chafe. Apparently, it’s the stuff they use on Patagonia and other popular outdoor gear apparel manufacturers. I have one roll in black and this is the first project I’m using it on.
I really got some practice on edge binding the six arm-holes with the ribbed nylon Lycra. I have some more practice needed to dial in exactly how I want the edge binding to sit, but I’m super happy with how the finishing went even though I had to pull apart the edge binding on one of the first harnesses I worked on because I wasn’t satisfied with the end result of the edge binding with the cheap double fold edge binder attachment I bought on eBay. I guess you get what you pay for. Time to save up for a proper double-fold edge binder for my bias binding.
The harnesses really turned out great! I’m not sure if I am ready to add pet harnesses to the shop just yet, but I think we are really onto something. If you think I should make these for sale, what colors and patterns would you be interested in? Let me know by sending me a comment!

