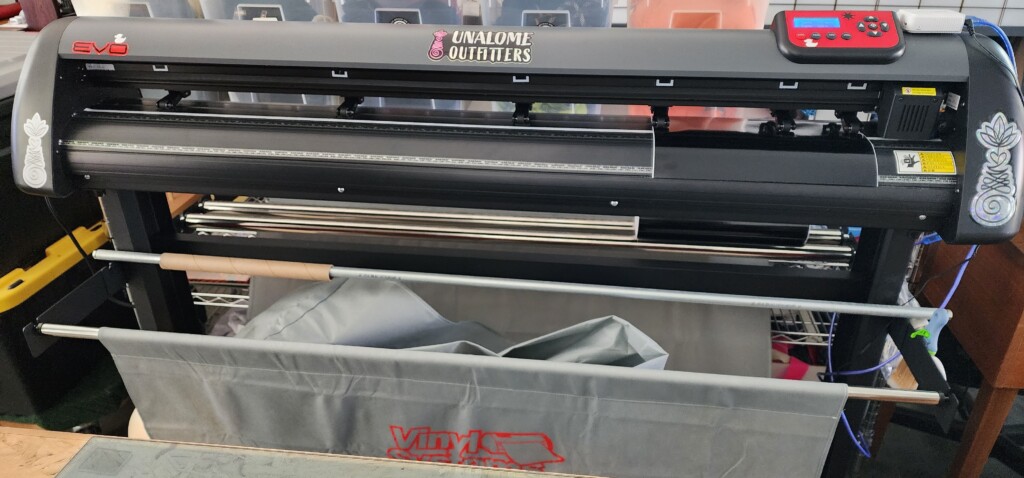
A few weeks ago, I decided to invest in Heat Press Nation’s VinylSystems EVO 52″ vinyl cutter mainly as a plotter for my patterns that I design. I went with the 52″ model because the manilla pattern paper roll I use is 48″ long so it’s perfect for when I need to plot out my pattern pieces. I had a few other ideas of uses for the vinyl cutter in mind like stickers, but the more and more I work with the vinyl cutter, I’m discovering many more ways to leverage its cutting capabilities.
Plotting on the Vinyl Cutter
There are a bunch of machines and tools I would love to get but growing a financially strong small business requires mindful purchases. I’ve been wanting to take my hand-drafting patterning to the next level. That next level would include drafting and designing patterns using CLO3D and then printing and cutting out each pattern all in one shot. To be honest, that kind of technology is way out of budget for the time being and the best option for me was to look into a plotter to print out my patterns and then manually cutting the pattern.
Swapping out the vinyl cutter blade for the pen tool is quick and simple. After dialing in the speed and pen pressure, it’s all about sending your patterns to the plotter.
I could, after plotting out the pattern and info on the pattern pieces, go back and swap out the pen tool with the cutter blade and re-run the plotter again, but only cutting out the contour of each pattern. I think that might end up causing more issues with the rollers going back over the cut pieces. Instead, once the plotting is done, I’m going to go back and hand cut out each pattern piece once the plotting is done.
Apparel Design with a Vinyl Cutter
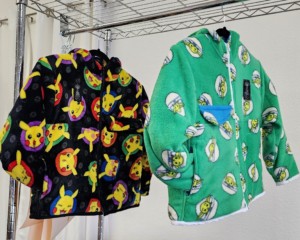
Heat transfer vinyl (HTV) is a popular way to decorate apparel and accessories. I’m excited to explore the ways I can use HTV to transfer my designs onto our bags and accessories. A heat press is definitely needed in the shop and will one day grace the shop with its presence, but for the time being, I’m working through some graphics for t-shirt and hoodie prints with HTV and Direct To Film (DTF) transfers. I’ll have a blog post on that process in the future.
Signage
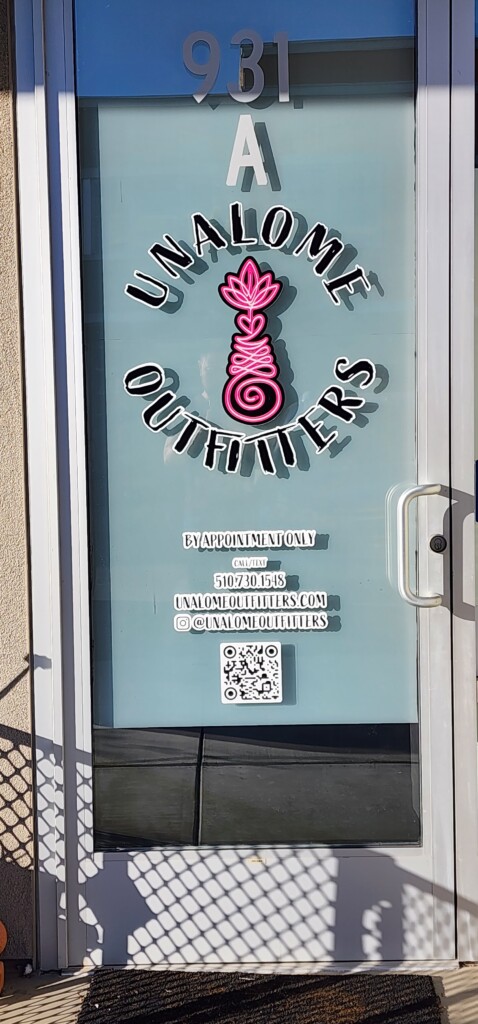
As soon as the vinyl cutter was delivered, the first major test was to create the front door signage. The black vinyl was cut out and stacked on top of the white vinyl to create contrast and readability.
This initial version of the logo was not a bad attempt at stacking three different types of vinyl on top of each other. This version will probably be replaced with a better one, but for now, it’s undergoing an outdoor durability test.
I think every business with a storefront needs to have a QR code on their door nowadays. It makes it easy for people walking by to quickly get to your website via their phone. And because yes, it’s quicker and easier to scan a QR code than type in a URL.
Taking signage further than the front door, I have future plans to make all my display signs for pop-ups and festivals. And I can’t forget to brand the company vehicle with the Unalome Outfitters branding!
Stickers
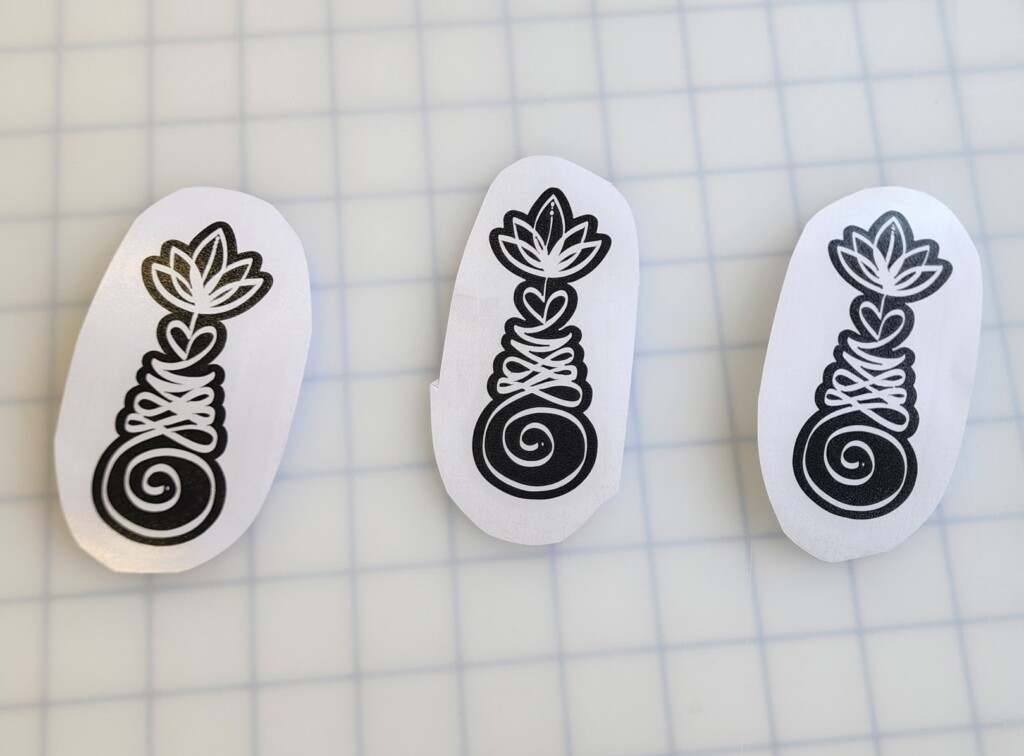
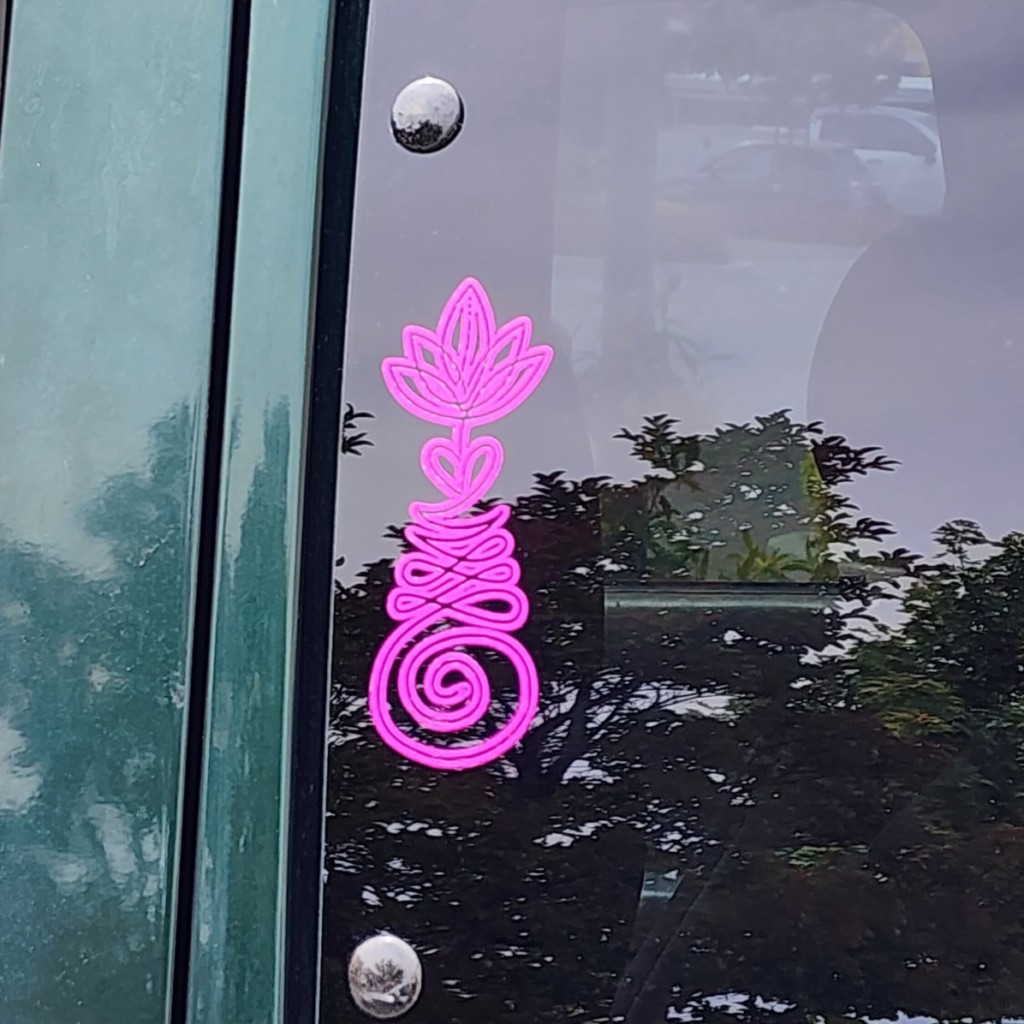
I’ve always thought that vinyl cut stickers were so cool. They’re so precise and the stickers look so clean when applied to objects, especially glass.
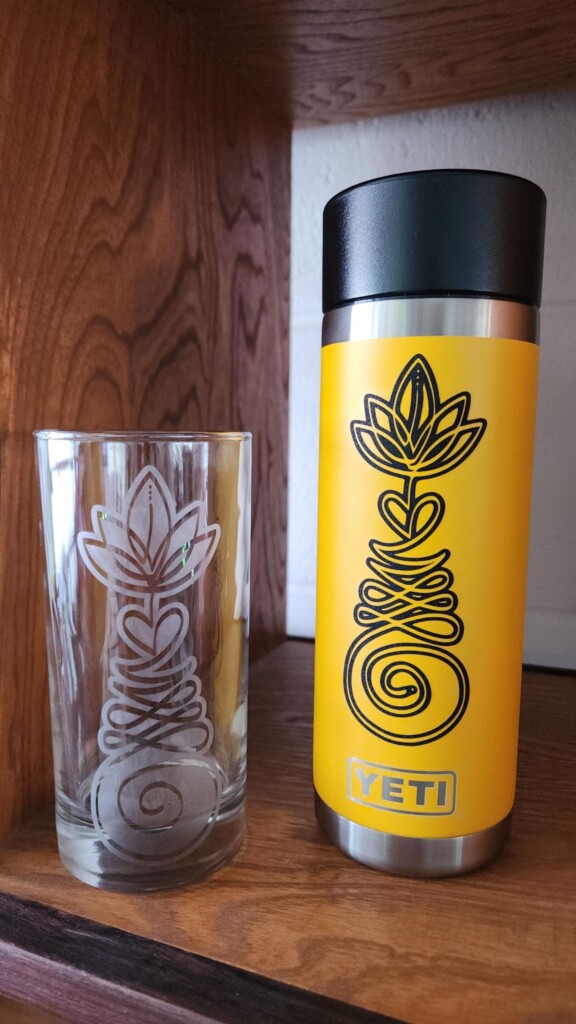
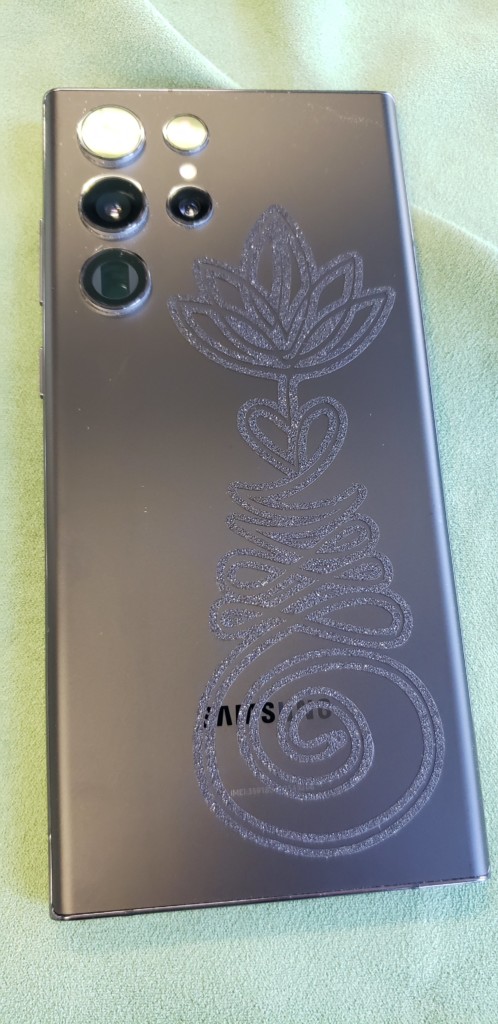
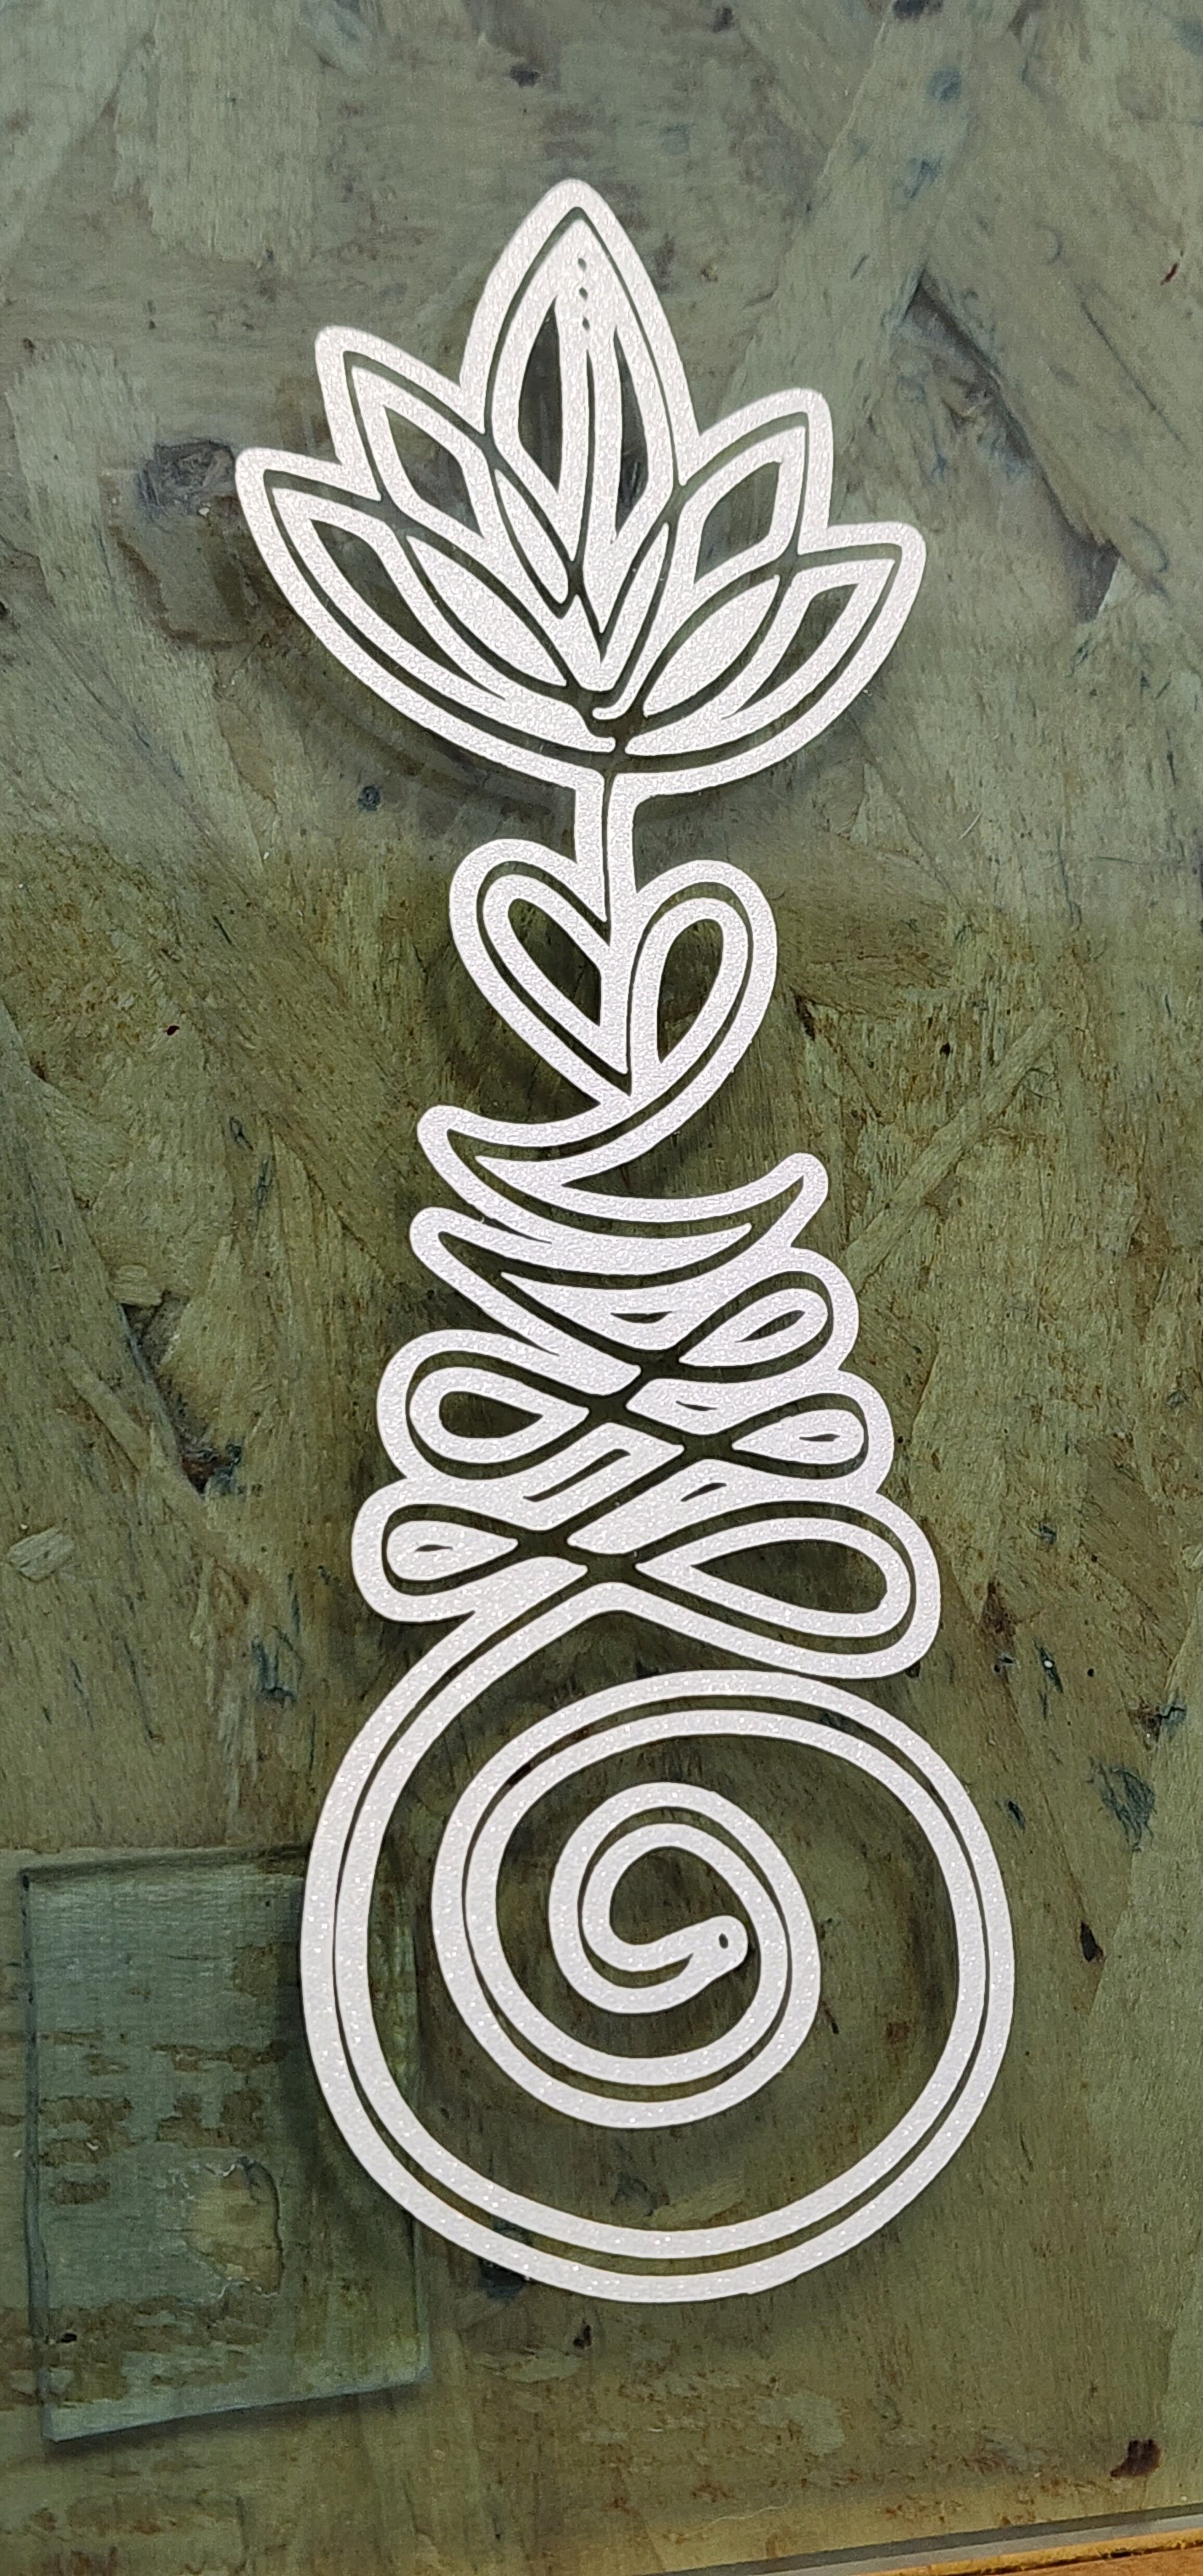
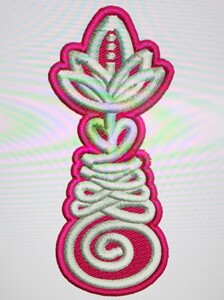
Right now, I’m focusing on making different unalome stickers. I think it’s a beautiful piece of art that when studied, can really help ground yourself in times of uncertainty in your life. Imagine yourself on the unalome’s path, your past, your present choices, and your future all in a single line. Everything’s going to be OK!
I’m excited to see the accessories category here at Unalome Outfitters grow with more stickers. I have plenty of ideas floating around and I’m really hoping to have some fun vinyl cut bumper stickers down the road; some funny, some inspirational, all enriching one way or another!
Stenciling Using a Vinyl Cutter
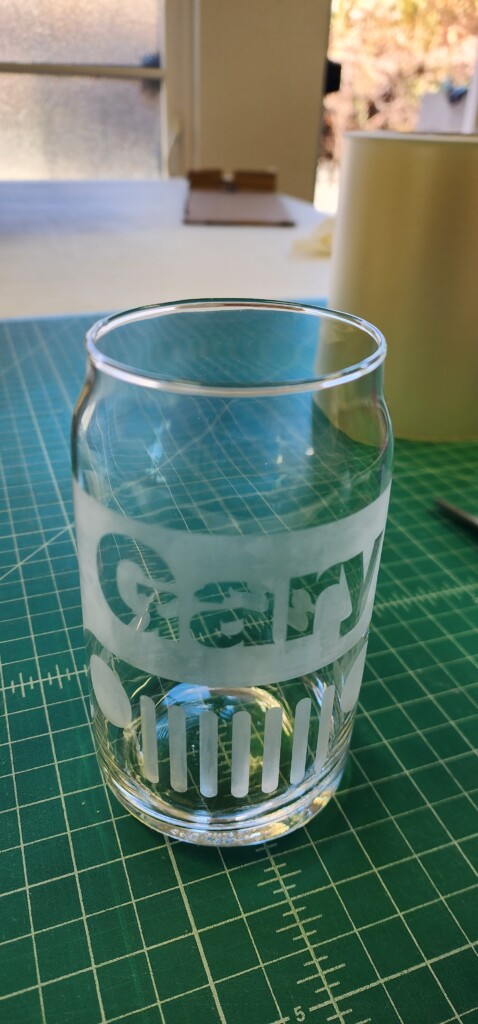
Just when I thought I had pushed the boundaries of the many applications the vinyl cutter can be used for, I find another one with stenciling so that I can etch glassware.
I have a love for glass art and have always wanted to work with glass, especially lampworking, but I have too many “hobbies” that get really darn expensive once you start to get serious. Maybe one day I’ll take a few private courses from a glass artist, but for now, I’m happy dipping my toes into the world of glass etching with the help of the vinyl cutter.
Depending on the design, you can either etch the negative space or weed out the vinyl elements that you want the etching paste to come into contact with. Both methods yield different effects and it really depends on what design you want to etch onto the piece of glass.
Once the etching paste has been brushed onto the glass (in different brush directions to prevent brush streaks) and left to “etch” for a few minutes, rinsing the etching paste and removing the vinyl from the glass is easy with hot water and gloves. Make sure to have a mesh net to catch the small pieces of vinyl from going down the drain. The unmasked areas that came into contact with the etching paste will have etched while the masked area should be clear and unscathed from the etching paste.
I’m excited to explore and apply future designs onto different types of barware, maybe even have an option on the site to customize the barware I design with your name!
